Easy & Budget-Friendly DIY Outdoor Nativity Ideas 2025
Discover easy DIY outdoor nativity ideas for 2025 — from stencil silhouettes to recycled wood cribs and PVC figures. Create a memorable, weatherproof display on any budget!
8/26/20258 min read
FAQ: Easy & Budget-Friendly DIY Outdoor Nativity Ideas 2025
1. What are simple and affordable materials for DIY outdoor nativity displays?
Popular options include stencil silhouette patterns on plywood, recycled pallet wood for rustic charm, and durable PVC pipe frames—each budget-friendly and weatherproof with proper paint and sealants.
2. How can I make my outdoor nativity weatherproof and long-lasting?
Use exterior-grade paints and sealants designed for outdoor use, anchor your display securely with stakes or weighted bases, and maintain it yearly by cleaning, touching up paint, and storing it dry.
3. What lighting works best to highlight a DIY nativity at night?
Solar spotlights are energy-efficient and easy to install, LED string lights add sparkle, and battery-operated lanterns provide a cozy glow—position lights to create dramatic silhouettes and enhance visibility.

Introduction
There’s something truly special about creating your own outdoor nativity display—it’s personal, meaningful, and a fun way to celebrate the season! If you love hands-on projects or want to keep costs low, DIY is where it’s at. From simple stencil silhouettes to clever recycled wood cribs and PVC pipe designs, these ideas will inspire you to craft a unique nativity scene that shines bright all winter long.
Stencil Silhouette Nativity Patterns: Easy and Impactful
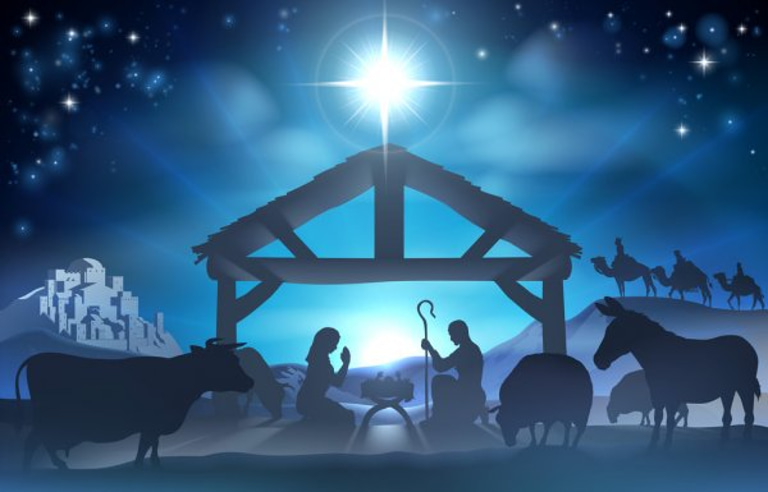
If you’re looking for an outdoor nativity display that’s both striking and surprisingly simple to create, stencil silhouette nativity patterns might be your best bet. I’ve found that these silhouettes offer a perfect blend of elegance and affordability—and they really come alive when lit up after dark.
How to Choose or Create Nativity Silhouette Stencils
Start with clear, recognizable shapes—Mary, Joseph, Baby Jesus, shepherds, maybe a star. You can find free or paid stencil templates online from sites like FreeNativityTemplates.com or even design your own with simple drawing software. The key is simplicity; bold outlines work best for outdoor visibility.
Materials: Plywood, Weatherproof Paint, and Mounting Tips
I recommend using ¾-inch exterior-grade plywood for durability. Once cut, apply at least two coats of weatherproof outdoor paint—black is classic, but deep colors can work too. For mounting, stakes or brackets anchored securely into the ground will keep your silhouettes stable through wind and rain.
Techniques for Cutting and Painting Large Silhouettes for Outdoor Use
A jigsaw or oscillating multi-tool makes cutting plywood shapes manageable, even for beginners. Take your time on curves for smooth lines. After cutting, sand edges lightly and paint with weatherproof primer before your top coats. Don’t rush drying between coats to ensure lasting finish.
Using Spotlights or Solar Lights to Make Silhouettes Pop at Night
Here’s where the magic happens: positioning a spotlight or solar light behind or to the side of your silhouette creates a glowing, dramatic effect that turns heads. Solar spotlights are an energy-efficient option if running cords isn’t feasible.
Pros: Affordable, Lightweight, and Customizable
Personally, I love stencil silhouettes because they’re budget-friendly and easy to store. Plus, you can customize the size and number of figures to fit any space. If you want a timeless, impactful display without the fuss of bulky statues or inflatables, this is a winning approach.
I’ve set up stencil silhouettes in my own yard for years—they attract neighbors’ compliments every season. If you’re handy with tools or eager to learn, this DIY project is a rewarding way to bring the nativity story to life in your own style.

Recycled Pallet Wood Nativity Displays: Rustic Charm on a Budget
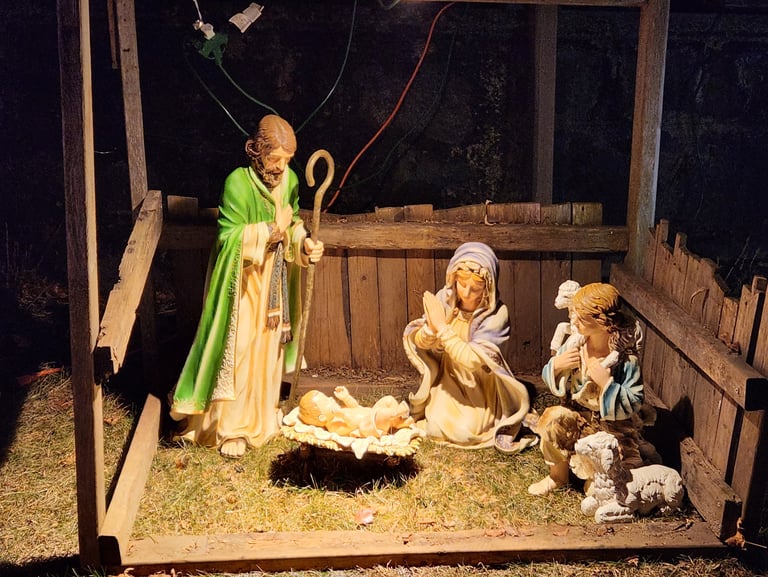
There’s something deeply satisfying about creating a nativity display that’s not only beautiful but also eco-friendly and budget-wise. Using recycled pallet wood brings a warm, rustic charm to your outdoor Christmas scene—and it’s surprisingly doable even if you’re not a seasoned woodworker.
Finding and Prepping Pallets for Safe Use
Not all pallets are created equal. When I started this project, I made sure to choose pallets stamped with “HT” (heat-treated) instead of chemically treated ones to avoid harmful toxins. Look for sturdy pallets without excessive damage. After bringing them home, give them a thorough cleaning and sanding to smooth rough edges and splinters—because safety first, especially with little hands around.
Basic Woodworking Tips: Sanding, Cutting, and Assembling
Even if you’re a beginner, basic tools like a hand saw, sanding block, and hammer are enough to craft simple shapes. Start with easy figures—think silhouettes of Mary, Joseph, and Baby Jesus—or build a small manger crib. Take your time cutting straight lines and sanding surfaces for a polished finish. I found that assembling pieces with wood glue and finishing nails keeps everything sturdy and neat.
Weatherproofing with Sealants or Paint
Pallet wood isn’t naturally weather-resistant, so sealing is a must. I use outdoor-grade clear sealants or waterproof wood stains to protect against moisture and fading. For a pop of color or a more finished look, adding a layer of weatherproof paint works wonders, especially in traditional nativity colors or simple whites.
Adding Creative Touches
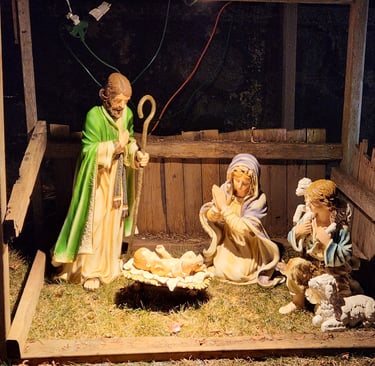
What makes a pallet nativity truly special are the personal details. I love wrapping wire or thin rope to create halos, using scraps of burlap for robes, or painting simple faces for character. These small touches transform rough wood into a heartfelt, one-of-a-kind display.
Eco-Friendly Benefits of Repurposing Pallets
Beyond aesthetics and cost savings, using pallet wood is a fantastic way to reduce waste and promote sustainability during the holidays. Every time I build or display one of these sets, I feel good knowing I’ve given new life to discarded materials—plus, it sparks great conversations about caring for our planet.
If you’re up for a hands-on project that blends tradition, creativity, and environmental mindfulness, pallet wood nativity displays offer a rustic, meaningful option that’s truly your own. I’ve enjoyed making them for friends and family—and I bet you will, too.


PVC Pipe Nativity Cribs and Figures: Durable and Modern
If you’re into DIY but want something a bit more contemporary and weatherproof than traditional wood, PVC pipe might just be the material you didn’t know you needed for your outdoor nativity display. I’ve played around with PVC frames myself, and honestly, it’s a game-changer—lightweight, strong, and surprisingly versatile.
Why PVC Pipe is a Great Choice for DIY Outdoor Nativity Sets
PVC is waterproof, rot-resistant, and easy to work with—perfect for outdoor setups that need to survive rain, snow, and freezing temps. Unlike wood, it won’t warp or attract pests, so your display stays intact year after year without the headache of constant repairs.
Basic Frame-Building Steps for Cribs, Manger, and Simple Figure Outlines
Starting a PVC nativity begins with measuring and cutting pipes to create basic geometric frames—think rectangles for cribs and simple linear shapes for figures like Mary and Joseph. You don’t need fancy tools; a PVC cutter or even a hacksaw works fine. Once you have your shapes, it’s all about snapping them together.
Using PVC Fittings for Stability and Ease of Assembly/Disassembly
One of the smartest parts? PVC fittings—elbows, tees, crosses—make your structure sturdy yet modular. I love how easy it is to take the display apart for storage or transport. Plus, if you ever want to tweak your design, it’s as simple as swapping out a piece or two.
Painting and Decorating Tips to Add Detail and Realism
PVC’s smooth surface takes paint well, but I recommend a primer designed for plastics to help colors stick and last outdoors. For realism, try layering paint for shadows or adding fabric wraps and ropes for clothing and halos. Even simple touches bring your nativity to life.
How to Anchor PVC Displays Safely Against Wind and Weather
Because PVC is lightweight, anchoring is crucial. I use ground stakes with guy lines tied to the frame for extra support—this keeps everything stable even in strong winds or snow. Weighted bases made from buckets filled with sand also work if staking isn’t an option.
In my experience, PVC pipe nativity displays strike the perfect balance between modern durability and creative freedom. If you want a display that’s tough, portable, and totally customizable, give PVC a try—you might be surprised how satisfying building your own nativity can be.


Tips for Weatherproofing and Lighting Your DIY Nativity
When I first made my own outdoor nativity, the biggest lesson I learned was this: it’s not just about how beautiful your display looks on Day 1, but how well it holds up through wind, rain, and snow. Weatherproofing and lighting are absolute game changers if you want your DIY nativity to shine year after year.
Selecting Paints and Sealants Designed for Outdoor Use
Don’t skimp on this! Using interior paints might seem tempting, but they’ll fade, chip, or peel in no time. Instead, invest in high-quality, exterior-grade paints and sealants specifically formulated for outdoor durability. I personally use acrylic latex paints paired with a clear polyurethane or spar varnish topcoat. These create a waterproof barrier and protect against UV damage, so colors stay vibrant despite harsh sun or wet weather.
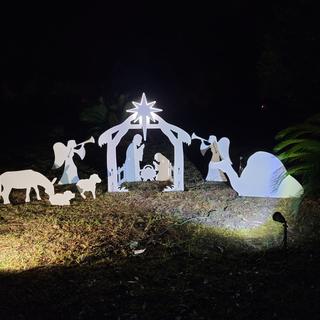
Simple Lighting Solutions: Solar Spotlights, LED String Lights, and Lanterns
Lighting transforms your nativity after dark, creating that magical glow that draws neighbors and guests in. I’m a big fan of solar spotlights—they’re energy-efficient and easy to install without running cords. LED string lights also add a gentle sparkle and work well wrapped around stable frames or trees nearby. For a warm, cozy vibe, battery-operated lanterns with flickering flames are perfect (and safe!).
Securing Displays Safely to Withstand Wind, Snow, and Rain
Even the sturdiest nativity won’t last if it topples in a gust. Anchoring is critical. I recommend using heavy-duty stakes for ground placement, plus guy lines tied securely to the frame. In areas with snow, adding weight at the base or using sandbags can prevent shifting or tipping. Don’t forget to check your setup regularly—winter weather can be unpredictable!
Maintenance Tips to Keep Your DIY Nativity Looking Great Year After Year
A little upkeep goes a long way. After the season, give your nativity a thorough wipe-down to remove dirt and moisture. Inspect paint for chips and touch up any spots before sealing again. Store your pieces in a dry, cool place—ideally in airtight bins with silica gel packets to prevent mold or mildew. Over time, this care preserves your handiwork and keeps your display looking fresh every Christmas.
If you want your DIY nativity to be a lasting tradition, weatherproofing and smart lighting aren’t optional—they’re essential. Trust me, the time and care you put in upfront saves headaches later and makes your holiday display something truly special.
Conclusion
DIY outdoor nativity displays offer a perfect blend of creativity, tradition, and personal touch. Whether you choose stencil silhouettes, recycled pallet wood, or PVC pipe constructions, these projects let you celebrate the season in style without breaking the bank. Get your tools ready, and bring your nativity vision to life this holiday season! Share your own DIY ideas or tips below—we’d love to hear them.